
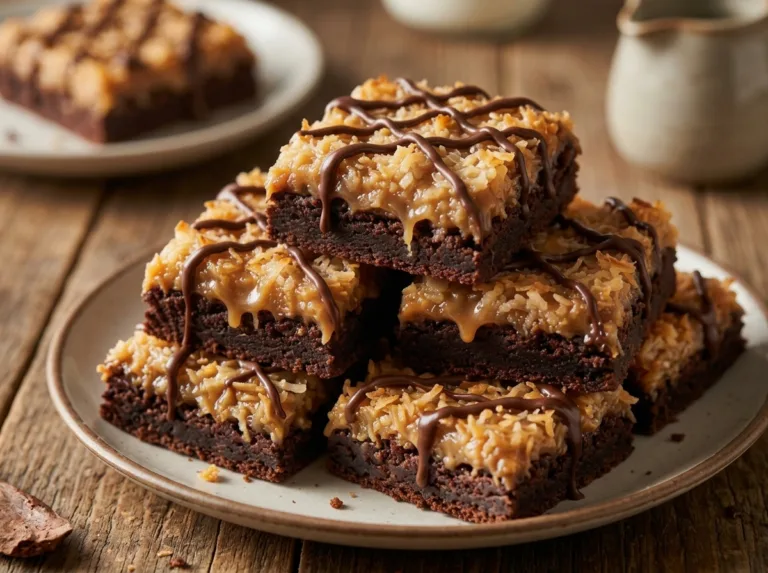
If you love rich brownies and anything with chocolate, coconut, and caramel together, this is the kind of bake that disappears fast. These Samoa Brownies are layered with fudgy chocolate batter, soft coconut filling, and chocolate caramel candies tucked right into the center. The result is rich, gooey, chewy, and a little over-the-top in the best way.
What makes these especially fun is the contrast between layers. The brownie base stays dense and chocolatey, the coconut filling adds chew and sweetness, and the caramel layer melts into the center while the pan bakes. Every bite feels a little different, which is part of what makes them hard to stop eating.
They’re also easier to make than they look. You’re not frosting anything or building a delicate dessert. It’s mostly mix, layer, bake, and cool. If you want a brownie recipe that feels bakery-style but still doable at home, Samoa Brownies are a strong choice.
Why this recipe stands out
- Fudgy brownie texture with coconut and caramel in the middle
- Big dessert flavor without a complicated method
- Layers look impressive once sliced
- Great for sharing, gifting, or holiday trays
- Just as good warm and gooey as they are cooled and cut neatly
A few baking notes before you start
- Center check: These brownies should still look a little gooey in the middle when done.
- Cooling matters: Full cooling gives the cleanest slices.
- Best result tip: Let the melted chocolate mixture cool slightly before adding it to the eggs.
- Texture note: A streaky toothpick is what you want here, not a perfectly clean one.
What you’ll need for the layers
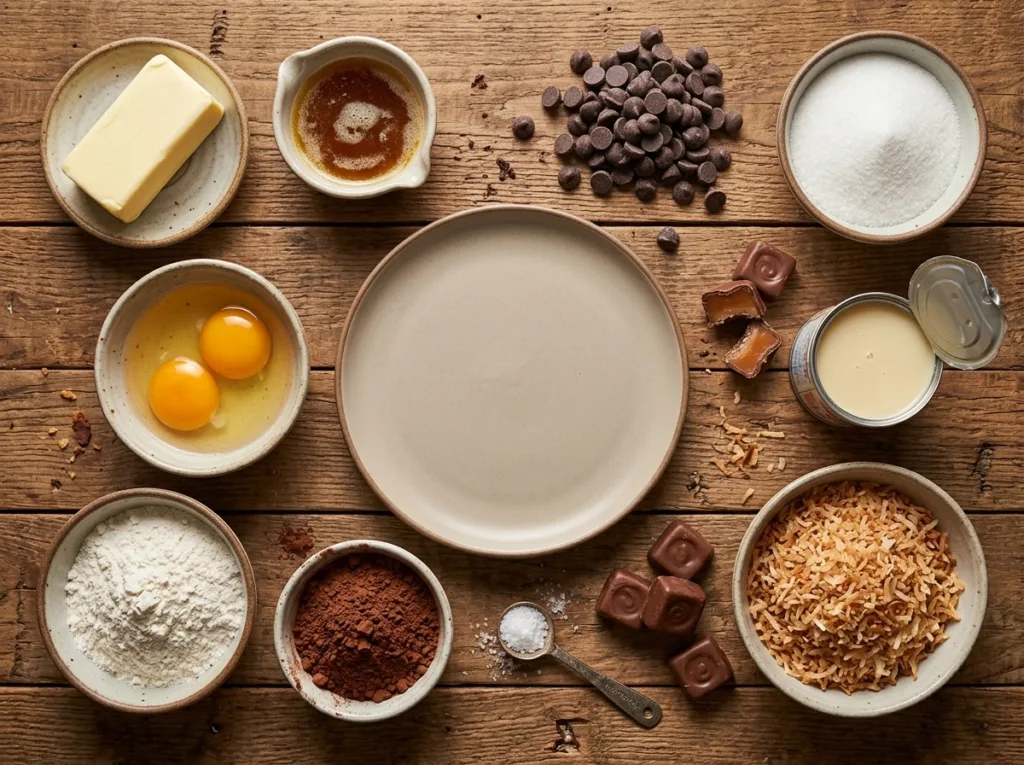
Brownie batter
- 1/2 cup + 2 Tbsp unsalted butter
- 1 cup semi-sweet chocolate chips
- 3/4 cup granulated sugar
- 2 large eggs, room temperature
- 3/4 cup all-purpose flour
- 1/4 cup cocoa powder
- 1/4 tsp salt
Coconut filling
- 1 cup unsweetened shredded coconut
- 3/4 cup sweetened condensed milk
Caramel layer
- 16 chocolate caramel squares
Helpful ingredient notes
- Room temperature eggs whisk more smoothly and help the batter get slightly airy.
- Unsweetened coconut works well here because the condensed milk already adds plenty of sweetness.
- Chocolate caramel squares soften as they bake, creating that gooey center layer.
- Semi-sweet chips keep the brownie base rich without turning overly sweet.
How the recipe comes together
1) Prep the pan
Preheat the oven to 350°F. Spray an 8×8-inch pan with oil and line it with parchment paper so the paper hangs over the edges.
That overhang makes it much easier to lift the brownies out later.
2) Make the coconut filling
In a medium bowl, mix the shredded coconut and sweetened condensed milk with a spatula until fully combined.
The filling should look thick, sticky, and easy to spread. Set it aside while you make the batter.
3) Melt the butter and chocolate
In a microwave-safe bowl, melt the butter and chocolate chips together, stirring every 30 seconds until smooth. This usually takes about 1 to 2 minutes total.
Let the mixture cool slightly before moving on. If it’s too hot, it can scramble the eggs.
4) Whisk the eggs and sugar
In a large bowl, whisk the eggs for about 1 minute. Add the sugar and keep whisking for 2 to 3 minutes more until the mixture looks slightly thick, lighter in color, and a bit airy.
This step helps give the brownies structure and that shiny, delicate top layer.
5) Add the chocolate mixture
Slowly pour the warm butter-chocolate mixture into the egg mixture while whisking. Whisk for another minute until smooth.
At this point, the batter should look glossy and rich.
6) Fold in the dry ingredients
In a small bowl, stir together the flour, cocoa powder, and salt. Gently fold them into the wet ingredients just until no flour streaks remain.
Do not overmix. The batter will be slightly thick, and that’s exactly right for layering. This thick texture helps Samoa Brownies hold their structure around the filling.
7) Build the layers
Scoop half of the brownie batter into the prepared pan and spread it into an even layer.
Place the chocolate caramel squares across the batter in an even layer. Then spread the coconut filling over the caramel layer as evenly as you can.
Finish by spreading the remaining brownie batter over the top, covering the filling completely.
This top layer may take a little patience because the batter is thick. A spatula or spoon works well for gently nudging it into place.
8) Bake until set but still fudgy
Bake for 30 to 40 minutes, or until the edges begin to harden and the center develops a set-looking film on top.
When you insert a toothpick into the center, it should come out with a streak of batter or fudgy crumbs—not completely clean. That’s how you know the brownies will stay soft and rich instead of dry.
9) Cool before slicing
Let the brownies cool in the pan until they’re sturdy enough to lift out using the parchment. For cleaner slices, cool them completely before cutting.
If you want them extra gooey, cut while still a little warm. That’s one of the best parts of Samoa Brownies—they’re good in both moods: neat and chewy, or warm and messy.
A few extra tips for success
- Cool the melted chocolate slightly before adding it to the eggs.
- Spread gently when layering so the coconut filling stays mostly centered.
- Don’t overbake. A fudgy center is better than a dry one.
- Use parchment with overhang for the easiest removal.
- Chill briefly before slicing if you want extra-clean edges.
If the top batter feels hard to spread, add it in little spoonfuls across the surface first, then smooth gently.
Ways to make them your own
- Add a small pinch of flaky salt on top after baking for a sweet-salty finish.
- Use dark chocolate chips for a deeper chocolate flavor.
- Toast the coconut lightly before mixing it with condensed milk for a nuttier note.
- Drizzle melted chocolate over the cooled brownies if you want a more decorated finish.
- Serve warm with vanilla ice cream for a full dessert plate.
Those small changes can shift the mood, but Samoa Brownies stay rich and recognizable either way.
Best ways to serve and store
- Serve: Warm for extra gooey centers, or fully cooled for neat squares.
- Room temperature: Keep covered for 2 to 3 days.
- Fridge: Store longer if needed, especially in a warm kitchen.
- Freezer: Freeze sliced brownies in layers with parchment between them.
If chilled, let them sit out a bit before eating so the center softens back up.
A few common questions
Can I use sweetened coconut instead?
You can, but the brownies will be noticeably sweeter.
How do I know they’re done?
Look for set edges and a center that leaves a fudgy streak on a toothpick.
Why is my top hard to spread?
The brownie batter is thick by design. Spoon it across the filling in small amounts, then smooth gently.
Do these really taste like Samoa-inspired brownies?
Yes—the chocolate, coconut, and caramel combination is exactly what gives Samoa Brownies their signature feel.
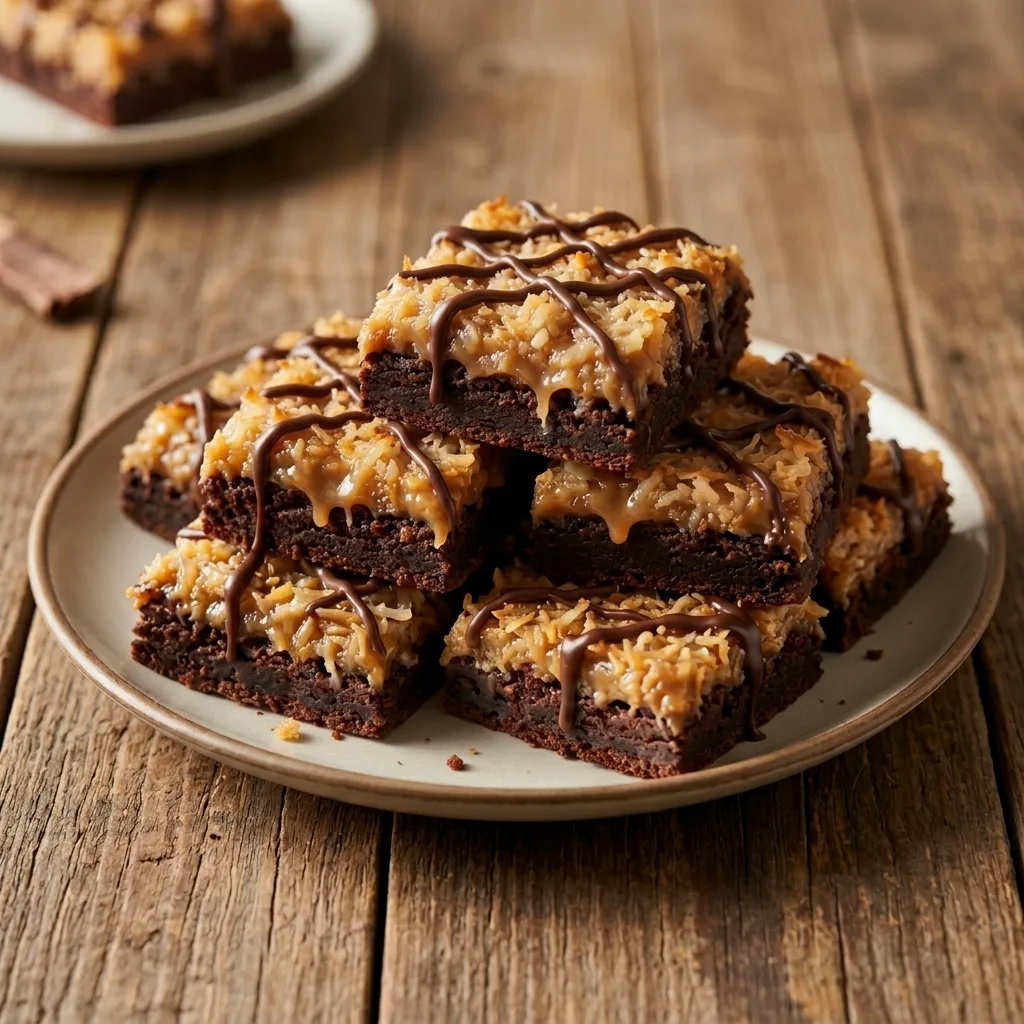
Samoa Brownies
Ingredients
Brownie Batter
- 1/2 cup + 2 Tbsp unsalted butter
- 1 cup semi-sweet chocolate chips
- 3/4 cup granulated sugar
- 2 large eggs room temperature
- 3/4 cup all-purpose flour
- 1/4 cup cocoa powder
- 1/4 tsp salt
Filling
- 1 cup unsweetened shredded coconut
- 3/4 cup sweetened condensed milk
- 16 chocolate caramel squares
Instructions
- Preheat oven to 350°F. Spray an 8×8-inch pan and line with parchment paper.
- Mix the shredded coconut and sweetened condensed milk in a bowl. Set aside.
- Melt butter and chocolate chips together, stirring every 30 seconds until smooth. Cool slightly.
- In a large bowl, whisk eggs for 1 minute. Add sugar and whisk 2 to 3 minutes until lighter and slightly thick.
- Slowly whisk in the melted chocolate mixture.
- Fold in flour, cocoa powder, and salt just until combined.
- Spread half the brownie batter into the pan. Layer the caramel squares on top. Spread the coconut filling over them.
- Spread the remaining brownie batter over the filling.
- Bake for 30 to 40 minutes, until the edges are set and the center leaves a fudgy streak on a toothpick.
- Cool before lifting from the pan and slicing.
Notes
A little fudgy streak on the toothpick is ideal.
Warm slices will be gooier and messier, but delicious.